The standard fire hydrant valve stem leak fix—a fresh O-ring—often fails.
Surface scoring, not seal wear, is a common cause of stem leaks. A frequent culprit is an over-torqued packing nut that deformed the metal. The quality tolerance on a stem sealing surface is unforgiving: a scratch deeper than 0.010 inch means the stem is done, and even a 0.001-inch imperfection can sabotage a fresh O-ring. Yet many maintenance manuals skip this entirely and just say “replace the packing.” That advice costs you repeat service calls and a failed inspection report.
The five field fixes below target the actual failure point. The first one costs nothing but a hex wrench and a torque reading. Fix that, and you stop the leak at its source instead of chasing symptoms with fresh rubber.

Diagnosing the Leak – Is It the Stem or the Bonnet?
Leaking hydrants often have stem surface damage, not internal valve failure.
Water dripping from the operating nut almost always signals a stem leak — failed packing rings or a cracked O-ring. Water pooling around the base or flange faces points to a bonnet gasket failure. Pop the operating nut cover with a hex wrench. If you see rust trails or moisture inside the bonnet cavity, the stem seal is blown and letting water climb past the packing.
- Dripping from operating nut: Stem leak (packing/O-ring failure).
- Wet base or flange area: Bonnet gasket leak.
- Moisture inside bonnet cavity: Stem seal bypass — water climbing past packing.
- Rust streaks on stem: Scored stem surface allowing fluid past even a new seal.
The NFPA 25 field test is brutally simple: place a clean bucket under the stem and time 10 seconds. More than 5 drops in that window — a rate exceeding one drop per second — fails the hydrant immediately. No excuses. If you’re seeing a slow weep during a dry spell, it’s already a compliance problem.
Here’s where many outfits waste a service call: they yank the entire main valve assembly when the real fault sits right under the packing nut. Leaking hydrants often have stem surface damage — deep scratches, pitting, or grooves — not a failed main valve seat. Yet field crews habitually reach for the big valve wrench first. Stop doing that. Rule out stem seal issues and stem condition before touching anything below the bonnet flange.
The root cause is rarely seal ageing. Over-tightening the packing nut — past 30 ft-lb — deforms the stem permanently. A groove deeper than 0.010 inches becomes a quality tolerance breach that new packing cannot fix. That groove will pass water even with a fresh O-ring. The only permanent correction is polishing back to spec (if under 0.005 inches deep) or swapping in a stainless steel stem sleeve. Some dry-barrel hydrants come standard with a replaceable stainless sleeve. When the stem surface is scored beyond 0.010 inches, you slide on a new sleeve instead of scrapping the entire stem assembly — that one design choice cuts field repair cost and downtime.
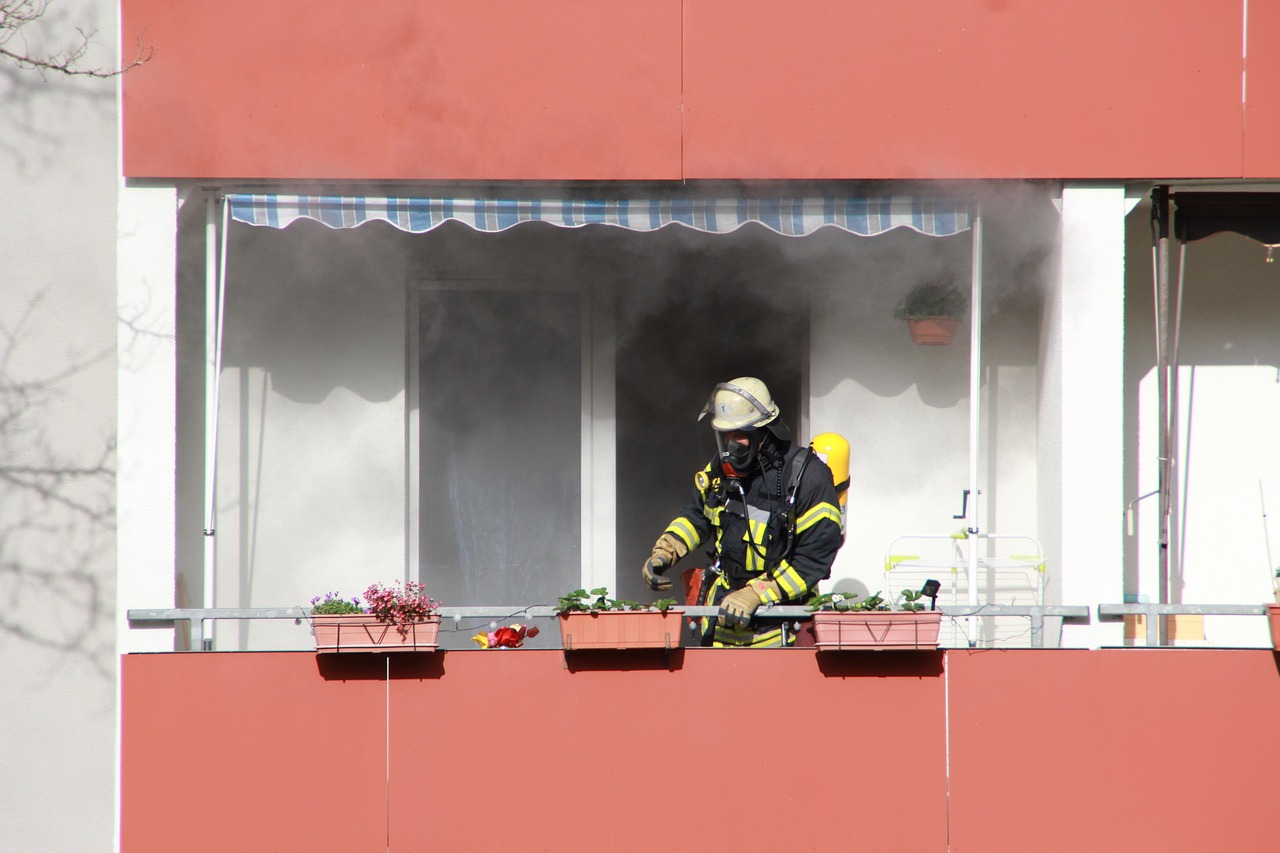
5 Field Fixes for Stem Leaks
A groove as shallow as 0.001″ on the stem surface can channel water past a new O-ring within 100 operating cycles.
Every hydrant mechanic I’ve trained has made the same mistake at least once: spotting a drip from the operating nut and immediately reaching for a new O-ring kit. Often, the seal wasn’t the problem. The stem surface was. Many stem leaks trace back to scoring and deformation on the stem itself — not degraded rubber. That means replacing seals without inspecting the metal is just buying yourself a 6-month reprieve before the leak comes back.
This fix costs nothing and resolves some stem leaks on the first attempt. The packing nut on many dry-barrel hydrants gets overtightened during previous repairs — sometimes at the factory, sometimes by a well-intentioned technician who thought “a little tighter” would stop a drip.
Loosen the packing nut a quarter turn with a hex wrench. Then re-torque it to 15–25 ft-lb . That’s the window. Below 15 ft-lb and you’ll get seepage. Above 30 ft-lb and you’re permanently deforming the stem — creating the exact score mark that will bypass a brand-new O-ring within a hundred open-close cycles. Use a torque wrench. Guessing with a ratchet is how the problem started.
If re-torquing doesn’t stop the drip, pull the packing nut completely. Extract the old packing rings or O-ring with a pick set — don’t gouge the stem doing it. The correct replacement isn’t whatever you have in the truck.
- Packing rings: 1/4″ PTFE packing, cut to fit the stuffing box. PTFE handles temperature swings better than graphite-impregnated packing in outdoor service.
- O-ring sizes: AS568-325 for Buna-N (wet-barrel, indoor), AS568-330 for EPDM (dry-barrel, outdoor). The -330 has a slightly larger cross-section that compensates for EPDM’s lower tear resistance.
- Lubrication: Apply a thin film of silicone grease — Dow Corning Molykote 111 or equivalent — before seating the new seal. Never use lithium grease. It attracts grit and turns into grinding paste inside the bonnet cavity.
After removing the old seal, run your fingernail along the stem surface. If you feel a catch but the groove depth is under 0.005″, you can polish it out in the field. Wrap 600-grit emery cloth around the stem and rotate it while pulling back and forth along the axis. The goal is to remove the raised ridge beside the groove — that ridge is what shreds a new O-ring on the first few strokes.
Do not use a file, sandpaper coarser than 400-grit, or a wire wheel. Any of those will leave directional scratches that accelerate future scoring. Polish until the surface feels smooth to the touch, clean off all abrasive residue with a solvent wipe, and install the new seal immediately.
When the groove depth measures between 0.005″ and 0.010″, polishing won’t cut it — you’ll remove too much material and compromise the stem’s dimensional tolerance with the packing nut. A stem sleeve bridges this gap.
Brass sleeves work and cost less upfront. Stainless steel sleeves last longer and resist corrosion in coastal or chemical-plant environments. Press the sleeve onto the stem with a retaining compound — Loctite 638 or equivalent — and let it cure fully before reassembly. This fix recovers a stem that would otherwise be scrap metal, at a lower per-incident repair cost than a full stem replacement.
Anything deeper than 0.010″ and the stem is done. The structural integrity is compromised, and no sleeve can reliably bridge a groove that deep under operating pressure. Source the replacement stem from the original equipment manufacturer — aftermarket stems routinely arrive with mismatched thread pitch, wrong spline counts, or off-spec diameter at the packing surface. You’ll chase leaks forever.

Material Compatibility – Why the Wrong Seal Fails in 6 Months
Many stem leak ‘fixes’ fail because no one checked what the O-ring was made of.
Maintenance manuals tell you to replace the seal. Replace the packing. Torque to spec. But I’ve walked through warehouses in Rotterdam and Houston where the same hydrants leak again six months later — and the tech followed the book perfectly. The problem wasn’t the procedure. It was the material. The seal that went in was Buna-N, and the hydrant sat outdoors in full sun for a summer. The ozone chewed through it like acid through cotton.
- Buna-N (Nitrile): Max 120°C. Excellent oil and fuel resistance — that’s why it’s standard in wet-barrel hydrants near roads or industrial zones where runoff carries diesel. But ozone resistance is fair at best. One season of UV and temperature cycling outdoors, and micro-cracks propagate through the O-ring cross-section. In cold climates, it stiffens and loses compression set below -10°C.
- EPDM (Ethylene Propylene): Max 150°C. Near-immune to ozone, UV, and weather. This is the correct material for any dry-barrel hydrant installed outdoors. EPDM maintains elasticity through temperature swings that kill Buna-N. The trade-off: EPDM swells and degrades on contact with petroleum-based fluids. If your hydrant sits adjacent to a fuel storage area or a truck loading dock with frequent spills, you need to assess groundwater contamination risk before defaulting to EPDM.
- PTFE (Teflon) Packing: Max 260°C. Chemically inert. Used as valve packing rings, not O-rings, in high-temperature or steam service. PTFE doesn’t bounce back like rubber — it flows under compression, which is why packing nuts need periodic re-torquing. Wrong choice for standard outdoor hydrants because it lacks the elastic recovery that handles stem movement during operation.
The decision rule: if the hydrant lives outdoors, specify EPDM O-rings. No exceptions for dry-barrel installations. The only carve-out is wet-barrel hydrants in oil-exposed environments, where Buna-N’s petroleum resistance trumps its ozone weakness — but those hydrants should be inspected every 90 days, not annually.
A mis-specified Buna-N seal in an outdoor dry-barrel hydrant can crack within months. The surface develops a network of hairline fissures. Water finds a path. The hydrant fails NFPA 25 inspection for exceeding 1 drop per second. Then you pay labor plus parts for a second service call. Do that twice in three years and you’ve spent more than installing EPDM once.
Here’s the benchmark you write down and reference on your next supplier call: EPDM O-rings, correctly installed and lubricated with silicone grease, deliver 5+ years of service in outdoor dry-barrel hydrants across all climate zones. If a supplier ships hydrants with Buna-N as the default stem seal for outdoor use, ask them to explain why. If they can’t — or if they tell you ‘it doesn’t matter’ — find a new supplier. The seal material decision isn’t a footnote in the spec sheet. It’s the difference between a hydrant that holds pressure for a decade and one that drips through every summer.
| Seal Material | Max Temp | Oil Resistance | Ozone Resistance | Best For |
|---|---|---|---|---|
| Buna-N | 120°C | Excellent | Fair | Indoor wet-barrel |
| EPDM | 150°C | Poor | Excellent | Outdoor dry-barrel |
| PTFE (packing) | 260°C | Excellent | Excellent | High-temp/steam |
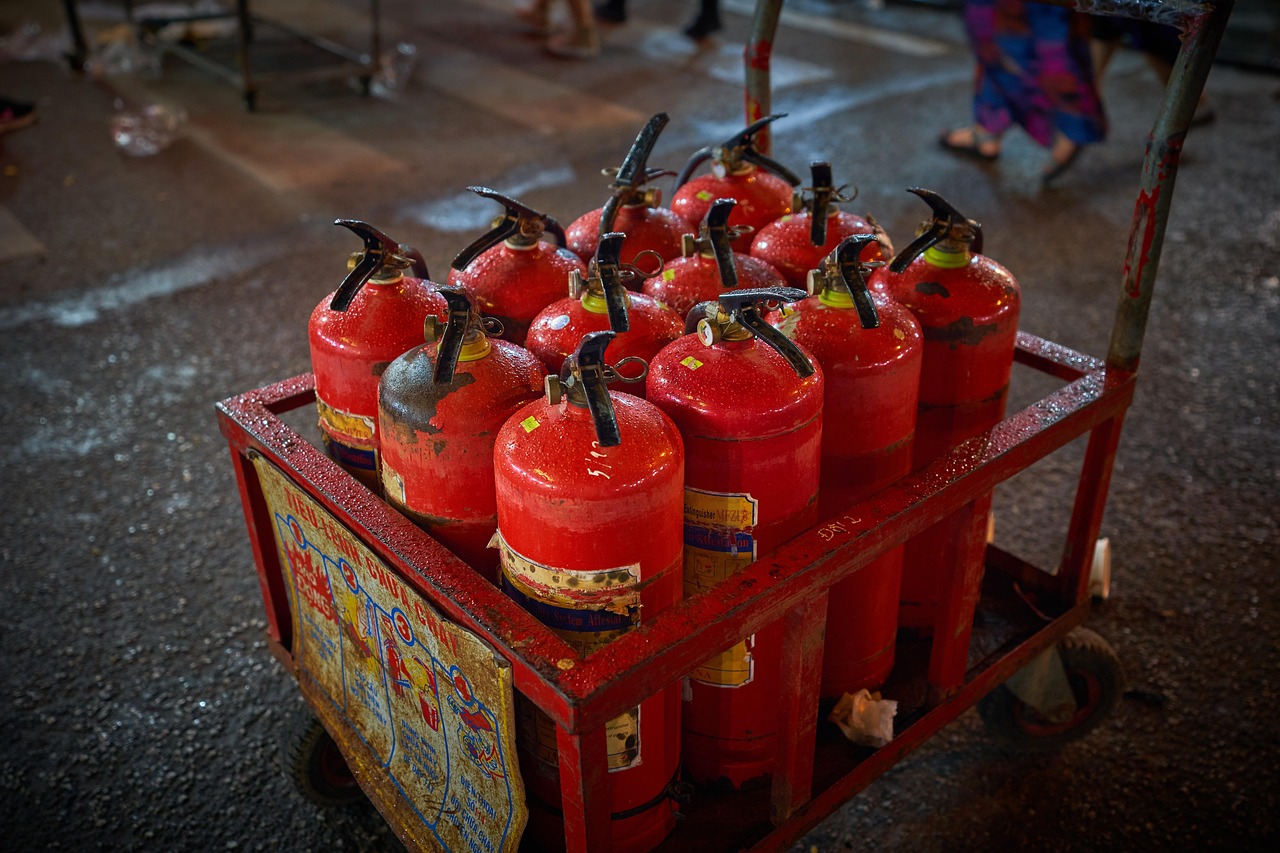
Preventive Maintenance to Avoid Future Leaks
Many PM failures aren’t knowledge gaps — they’re discipline gaps with a calendar and a torque wrench.
The facilities that pass NFPA 25 inspection every year don’t have smarter technicians. They have a twice-yearly checklist that gets executed without shortcuts, and a bonnet tag with a date on it. The ones that fail — and end up with an emergency excavation — skip the fall cycle because ‘it looked fine in spring.’ A dry-barrel hydrant sitting idle through freeze-thaw cycles develops condensation inside the bonnet cavity. That moisture sits on the stem surface and etches micro-pits into the metal. By the time you see a drip from the operating nut, the scoring is already past 0.005 inches deep.
- Spring PM (April–May): Remove the operating nut cover. Clear all debris from the bonnet cavity — grit that enters during winter road sanding acts like sandpaper on the stem. Cycle the hydrant fully open and closed 3 times minimum; this redistributes silicone grease across the O-ring contact surface and prevents dry spots that crack under pressure. Check for moisture at the packing nut with a gloved finger — any dampness means the seal has started bypassing.
- Fall PM (October–November): Repeat the spring steps, but add a 60-second drop test under NFPA 25 criteria (fail if >1 drop per second). Drain the barrel completely after cycling. A hydrant left with standing water in the barrel freezes from the bottom up, splitting the valve seat or cracking the elbow. Lubricate the stem threads with silicone-based grease only — lithium grease thickens below -20°F and attracts airborne grit that scores the stem within 50 cycles.
- Critical detail most crews miss: Cycle count matters. Three full open-close cycles pushes lubricant into the O-ring gland evenly. One cycle leaves dry bands on the ring where friction concentrate heat during the first emergency flow. That uneven wear is what turns a 5-year O-ring into a 2-year failure.
Replace every stem O-ring at the 5-year mark regardless of visual condition. EPDM compound hardens over time — Durometer Shore A climbs 5 to 8 points over five years of outdoor UV and ozone exposure. A hardened O-ring loses its elastic memory. It seats fine at zero pressure, then unseats the moment static head hits 60 psi during a flow test. Tag each bonnet with the last change date using a stainless steel placard and a permanent marker. Without the tag, your replacement schedule is a guess spread across 50 or 200 hydrants with different install dates, and guesswork is what gets you a drip during the insurance underwriter’s walkthrough.
The final 10% that separates a tight fleet from a leak-prone one is what you do when scoring is already present. Many dry-barrel hydrant designs force a choice: polish the stem with emery cloth and hope the groove doesn’t return, or replace the entire stem assembly plus a half-day of labor. Some models ship with a replaceable stainless steel stem sleeve as standard. When scoring reaches 0.010 inches — the depth where a new O-ring bypasses within 100 cycles — you slide the old sleeve off, press a new one on with retaining compound, and torque the packing nut to 15–25 ft-lb. The repair takes 30 minutes. Cost runs well below a full stem assembly replacement.
Conclusion
The five field fixes here solve many stem leaks without swapping entire valve assemblies. But the professional who keeps incident costs down knows one thing the amateur misses: surface scoring on the stem—not seal wear—is often the true culprit. If a hydrant leaks again six months after packing replacement, the stem surface was already compromised the first time you opened the bonnet.
That is why, when you spec new installations or overhaul aging dry-barrel units, you insist on a replaceable stainless steel stem sleeve as standard. It turns a stem assembly replacement into a 30-minute sleeve swap, cutting repair cost and downtime. Not every hydrant on the market gives you that option. Review the current product line to grab the exact torque specs and material charts that lock EPDM seals and sleeve-equipped designs into your next capital request.
Frequently Asked Questions
Can I use lithium grease on the stem?
No – lithium grease attracts dirt and thickens in cold weather. Use only a silicone-based lubricant rated for potable water contact. Stick with silicone grease to keep the seal clean and responsive.
How do I remove a stuck packing nut?
Apply penetrating oil (e.g., PB Blaster) and let it soak for 30 minutes. Then use a hex wrench, not a pipe wrench, to avoid rounding the nut flats. Always turn with a precise-fitting wrench to protect the flats.
Will a stem leak affect my fire flow test results?
Yes – even a small stem leak can lower static pressure by 5–10 psi during high flow. Fix the leak before your annual flow test to avoid false fails. Repair leaks first to get true flow test results.
What is the most common cause of stem leaks in fire hydrants?
Over-tightening the packing nut at the factory or during previous repairs. This deforms the stem and creates a leak path that new seals can’t fix. Torque to 15–25 ft-lb only to prevent permanent damage.
How do I know if I need to replace the stem or just the O-ring?
Inspect the stem with a fingernail. If your nail catches on a groove deeper than about 0.010 inches, replace the stem – a new O-ring won’t seal a scored surface. Replace the stem if scoring is felt; a new O-ring won’t hold.